Overview
Dashboards bring together multiple reports into a single view, giving you a comprehensive picture of performance, trends, or any business area you want to monitor. Instead of viewing reports individually, dashboards let you arrange related insights side by side. Dashboards serve several purposes:- Provide at-a-glance visibility into key metrics
- Group related reports for specific roles (sales managers, executives, operations)
- Create focused views for different business processes (pipeline management, customer success)
- Share consistent data views across teams
Step-by-Step Instructions
1. Starting Dashboard Creation
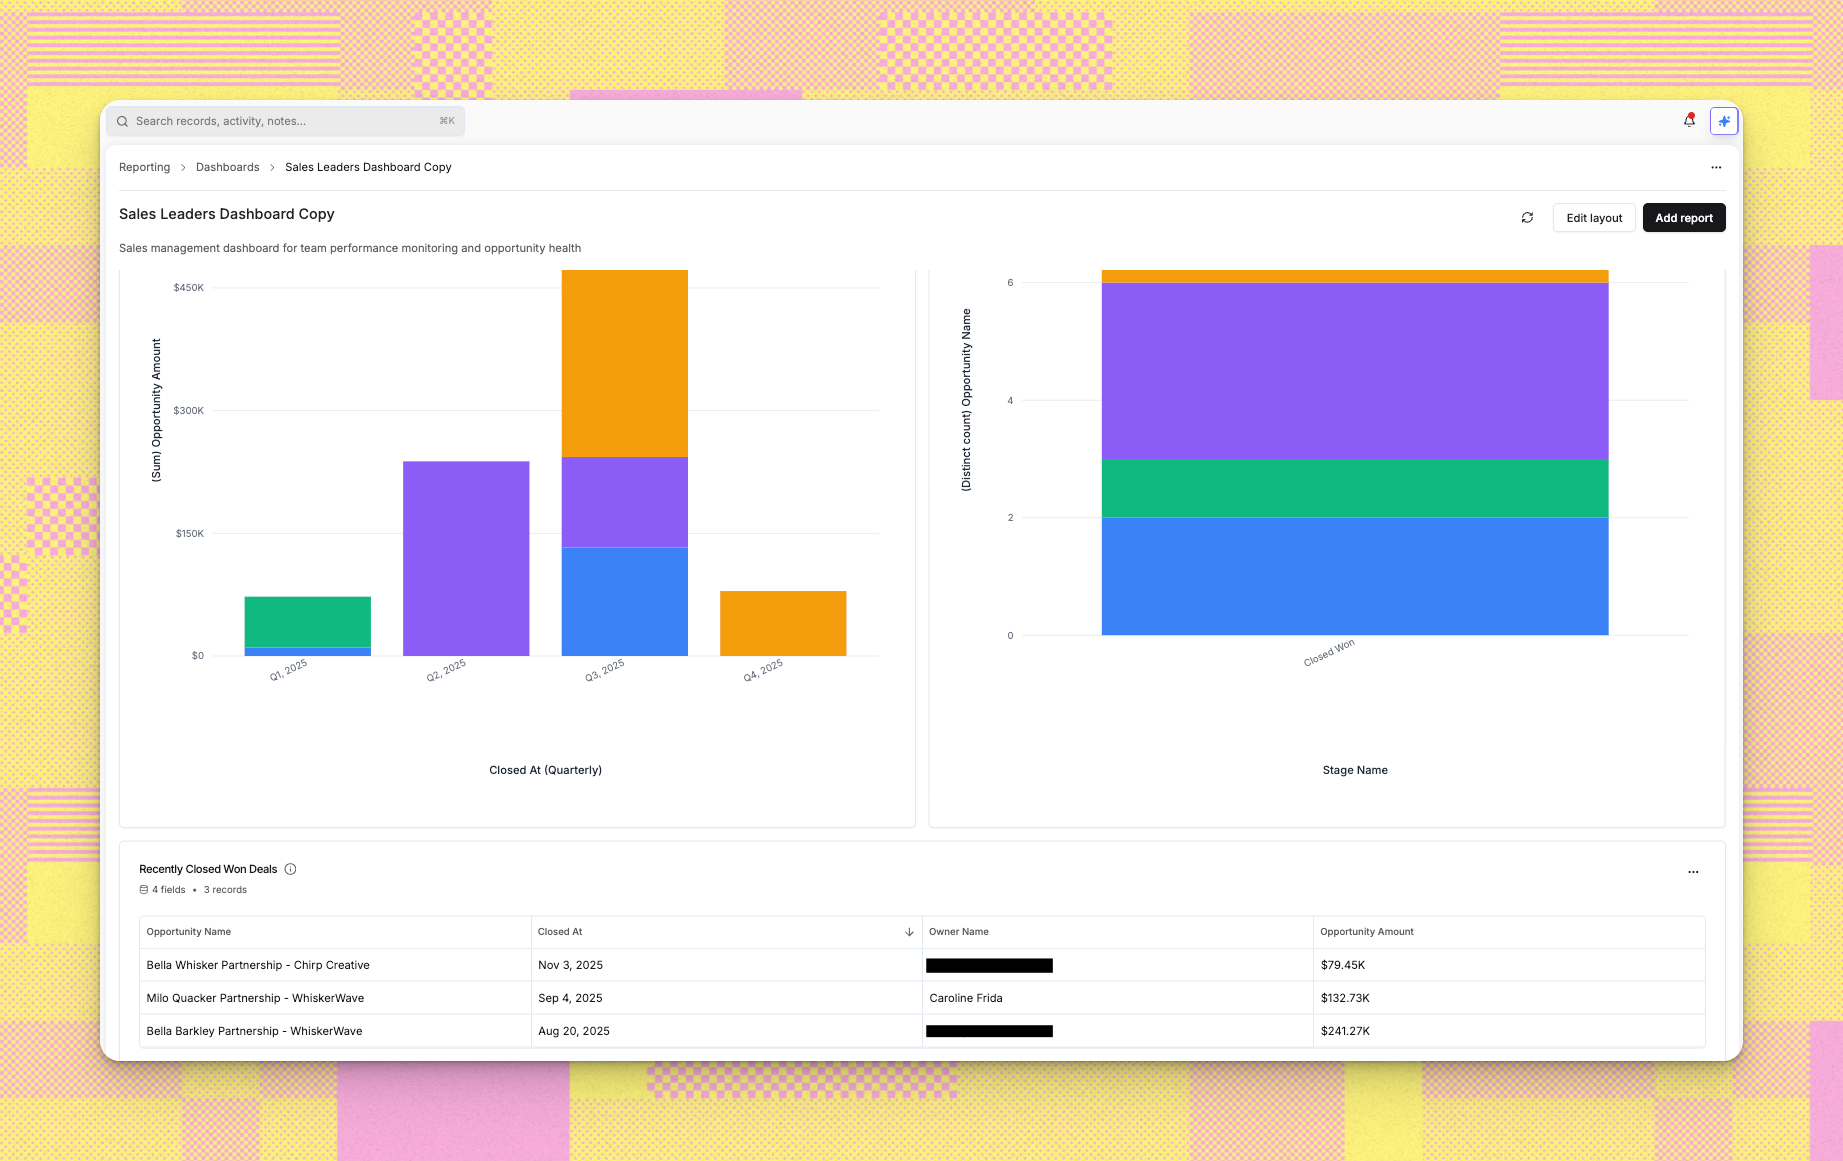
- Navigate to Reporting and select the Dashboards tab
- Click Create Dashboard or the plus icon
- A wizard appears showing two options:
- Create from scratch
- Create from template
- In the template selection screen, click the blank tile to create from scratch
- The configuration screen appears
- Enter your Dashboard name in the provided field
- Optionally add a Description explaining what the dashboard tracks
- You’ll see: “Your dashboard will be created empty. You can add widgets, reports, and customize the layout after creation.”
- Click Create dashboard to proceed
- The system creates an empty dashboard that you can populate with reports
- Browse the available dashboard templates in the selection screen
- Each template shows:
- Dashboard name and description
- Number of included reports
- Creator and last update date
- Target audience information
- Click a template card to select it
- The configuration screen appears with your selected template details
2. Configuring Your Template-Based Dashboard
- The left side shows template information including its reports
- Review “Who is this dashboard for?” to confirm the template matches your needs
- On the right side, enter your Dashboard name
- The system suggests a name like “[Template Name] Copy” but you can change it
- Review the Reports section showing all reports from the template
- Each report has a checkbox allowing you to include or exclude it
- Use Select all or Deselect all to quickly manage selections
- Click the information icon next to any report to see its description
- At the bottom, you’ll see: “This dashboard will include X of Y reports from the template. You can customize them after the dashboard is created.”
- Click Create dashboard when ready
3. Navigation During Creation
While in the wizard:- Click Back to return to template selection without losing your work
- The wizard keeps your previous selections if you go back and forth
- Click Cancel or close the dialog to abandon dashboard creation
- The Create dashboard button shows “Creating…” with a loading indicator during processing
4. After Creation
- The system processes your dashboard and redirects you to the dashboard view
- If created from scratch, you’ll see an empty layout ready for reports
- If created from template, your selected reports appear in the dashboard layout
- You can now customize the dashboard by:
- Adding more reports
- Removing reports
- Rearranging report positions
- Resizing report widgets
- Editing dashboard settings
Troubleshooting/FAQ
Can I change which reports are in my dashboard after creation?
Can I change which reports are in my dashboard after creation?
Yes, dashboards are fully editable after creation. You can add new reports, remove existing ones, and rearrange the layout at any time.
What's the difference between starting from scratch versus using a template?
What's the difference between starting from scratch versus using a template?
Templates give you a pre-configured dashboard with relevant reports already included. Starting from scratch gives you an empty canvas to build exactly what you want. Templates save time, while scratch gives you complete control.
Can I edit the reports within a dashboard?
Can I edit the reports within a dashboard?
You can edit the reports themselves by navigating to the individual report pages. Changes to reports automatically reflect in any dashboards containing those reports.
Can I share dashboards with specific people?
Can I share dashboards with specific people?
What happens if I delete a report that's on a dashboard?
What happens if I delete a report that's on a dashboard?
The dashboard will show an error for that report widget. Remove the broken widget from your dashboard and replace it with a different report if needed.
Can I create a dashboard without any reports?
Can I create a dashboard without any reports?
Yes, you can create an empty dashboard and add reports later. This is useful when you’re planning a dashboard structure before the reports are ready.
Do template dashboards update when the template changes?
Do template dashboards update when the template changes?
No, once you create a dashboard from a template, it becomes independent. Changes to the template don’t affect your dashboard. However, if the underlying reports change, those changes will reflect in your dashboard.
Can I duplicate an existing dashboard?
Can I duplicate an existing dashboard?
Currently, you can create a new dashboard from the same template, but direct dashboard duplication isn’t available. Creating from template gives you similar functionality.
Still have questions? Sign in and use AskReevo for instant answers or to raise a support ticket.