Option 1 - Use the Reevo Admin Consent Page (Quickest)
Reevo provides a hosted page that walks your IT admin through granting org-wide consent in a single step. The admin does not need a Reevo account.- Share this link with your Microsoft Workspace Admin: https://app.reevo.ai/public/admin-consent/microsoft
- The admin clicks Review permissions and signs in with their Microsoft admin account.
- Microsoft shows the full list of permissions Reevo is requesting. The admin reviews and approves.
- Once approved, all users in the organization can connect their Outlook email and calendar from Settings - Integrations in Reevo without any further admin action.
This is a one-time setup per organization. After the admin approves, no individual user approvals are needed.
Option 2 - Configure Permissions in Microsoft Entra
If your organization prefers not to grant org-wide consent, a Microsoft Workspace Admin can configure Entra so users can consent on their own instead. This requires two steps - both are required.Step 1 - Update the User Consent Setting
- Navigate to https://entra.microsoft.com as a Microsoft Workspace Admin.
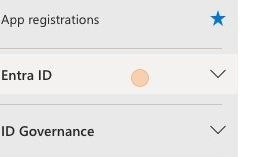
- Click Entra ID.
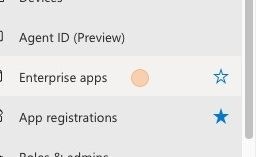
- Click Enterprise apps.
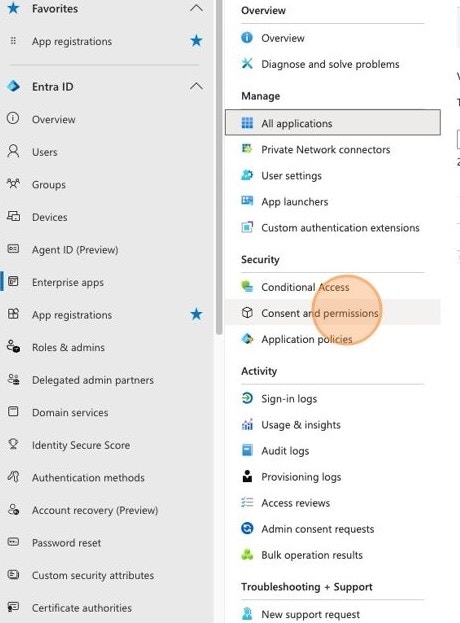
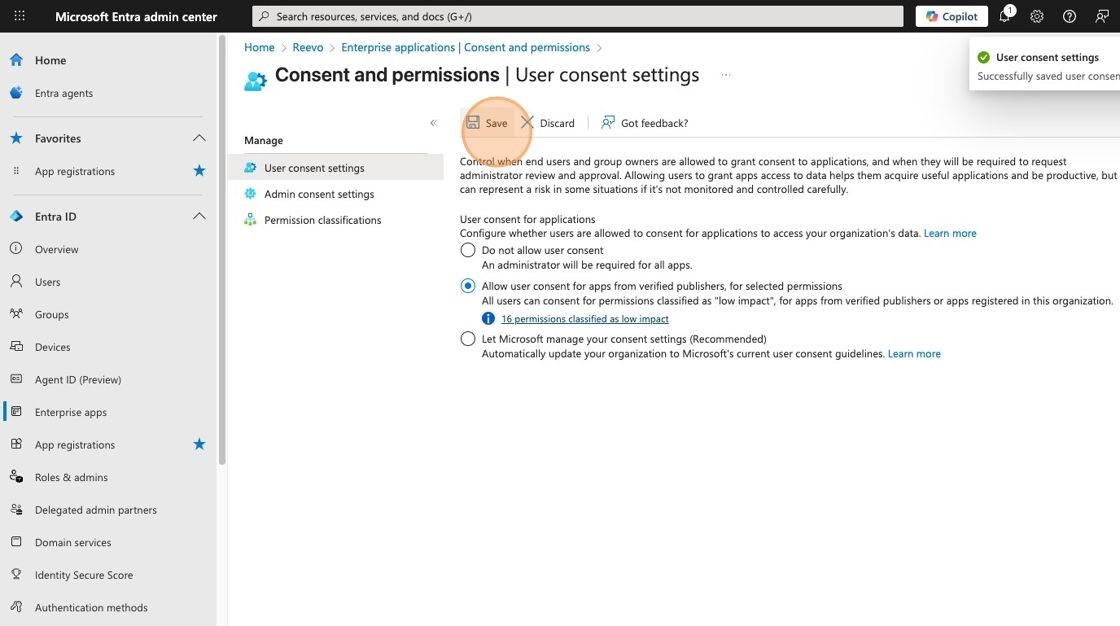
- Click Consent and permissions.
- Select “Allow user consent for apps from verified publishers, for selected permissions”.
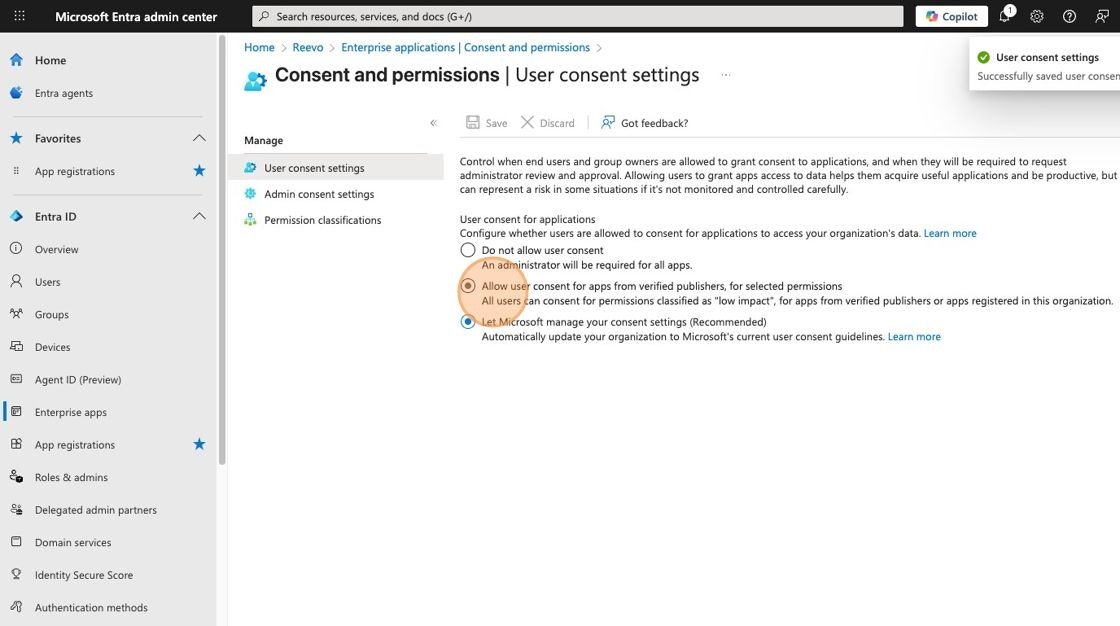
- Click Save.
Step 2 - Classify Reevo’s Required Permissions as Low Risk
This step tells Microsoft which permissions users are allowed to consent to on their own. Any permission not classified as “Low” will still require admin approval even after completing Step 1.- In Microsoft Entra, go to Entra ID - Enterprise apps - Consent and permissions - Permission classifications.
- Select the Low tab.
- Click + Add permissions.

- Search for Microsoft Graph and add each of the following permissions:
| Permission | Description |
|---|---|
Calendars.Read | Read user calendars |
Calendars.ReadWrite | Full access to user calendars |
Calendars.Read.Shared | Read user and shared calendars |
Calendars.ReadWrite.Shared | Read and write user and shared calendars |
Mail.Read | Read user mail |
Mail.ReadWrite | Read and write access to user mail |
Mail.Read.Shared | Read user and shared mail |
Mail.ReadWrite.Shared | Read and write user and shared mail |
Mail.Send | Send mail as a user |
Mail.Send.Shared | Send mail on behalf of others |
OnlineMeetings.ReadWrite | Read and create user’s online meetings |
- Click Save after adding all permissions.
Still have questions? Sign in and use AskReevo for instant answers or to raise a support ticket.